How to make a personal website with Jekyll
In this article I try to condence everything I’ve learned about Jekyll and help you create your own website for free.
I’ve tried to create my personal website several times by now using my somewhat limited knowledge of HTML, CSS, and JavaScript.
I actually created a decent portfolio website right after the completion of the online course Building Websites from Scratch from Codecademy.
I wanted to go one step further and add blog section. That’s when I realised that I needed some kind of CMS (Content Management System) or a site generator to take away the hassle of creating & copy-pasting HTML files for every new post. On top of that, I wanted to optimize SEO and loading speed.
My requirements for the site generator were:
- Automate the process of creating blog posts / articles
- Easy to set up and manage
- Free to host online ( e.g. with GitHub pages )
- Ability to set up a custom domain name (e.g. dmytronaida.com)
Jekyll met all the criteria above. It is open-source, easy to set up and most importantly completely FREE to host on GitHub pages.
Prerequisites
- Basic knowledge of HTML & CSS
- Basic knowledge of command line
- A GitHub account
- A text editor on your machine (e.g. VS Code)
Install Jekyll
-
Open terminal on your computer:
For Mac, press
Cmd + Spaceand start typingterminal. Then, hitEnterto open the command line.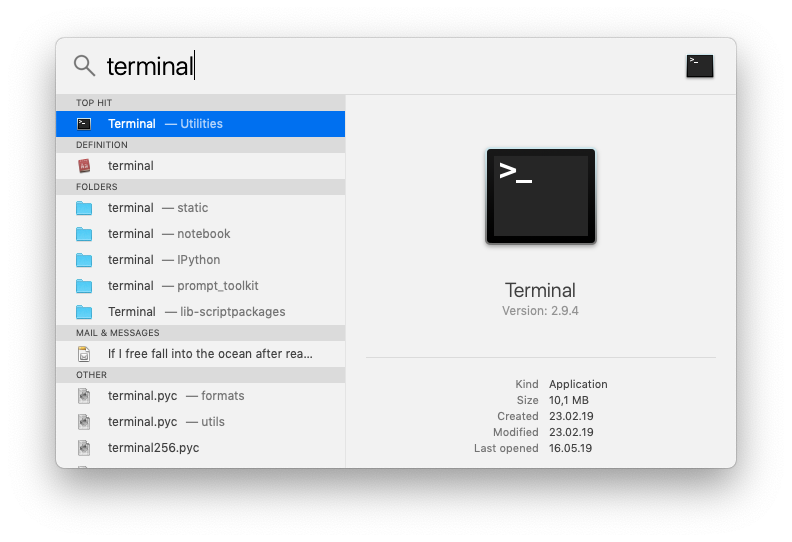
-
Install Command Line Tools
Check to see if you have Command Line Tools on your machine already:
gcc -vYou should see the version of the command line tools you are using if you have them installed. Otherwise, you will be prompted to install them on your machine. Or, just type in your terminal:
xcode-select --install -
Install Ruby
 # Install Homebrew
 /usr/bin/ruby -e "$(curl -fsSL https://raw.githubusercontent.com/Homebrew/install/master/install)"

 brew install ruby
and add it to your shell config:
- clear the terminal;
- go back to your home directory
cd; - open
nano ~/.bash_profilefrom your terminal; - and add a new line
export PATH=/usr/local/opt/ruby/bin:$PATH
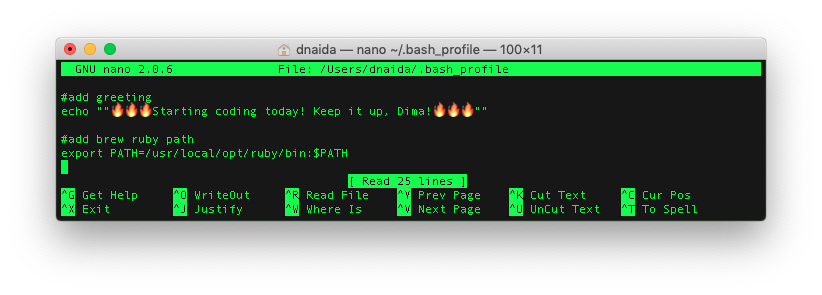
- Save and close the file
Ctr + Oto save- and,
Ctr + Xto close
Last thing, is to relaunch your terminal and check your updated Ruby setup
which ruby # /usr/local/opt/ruby/bin/ruby ruby -v # ruby 2.6.2p47 (2019-03-13 revision 67232) [x86_64-darwin18] -
Install Jekyll
Now your should be ready to install the Jekyll itself.
-
gem install --user-install bundler jekyll - check the Ruby version:
ruby -v # ruby 2.6.1p33 (2019-01-30 revision 66950) [x86_64-darwin18] - Then append your path file with the following, replacing the
X.Xwith the first two digits of your Ruby version.export PATH=$HOME/.gem/ruby/X.X.0/bin:$PATH - to check that your gem paths point to your home directory run
gem envand make sure thatGEM PATHS:points to a path in your home directory.
-
Create a custom website running on Jekyll
Now, that you have Jekyll on your machine, we are ready to proceed and create your website.
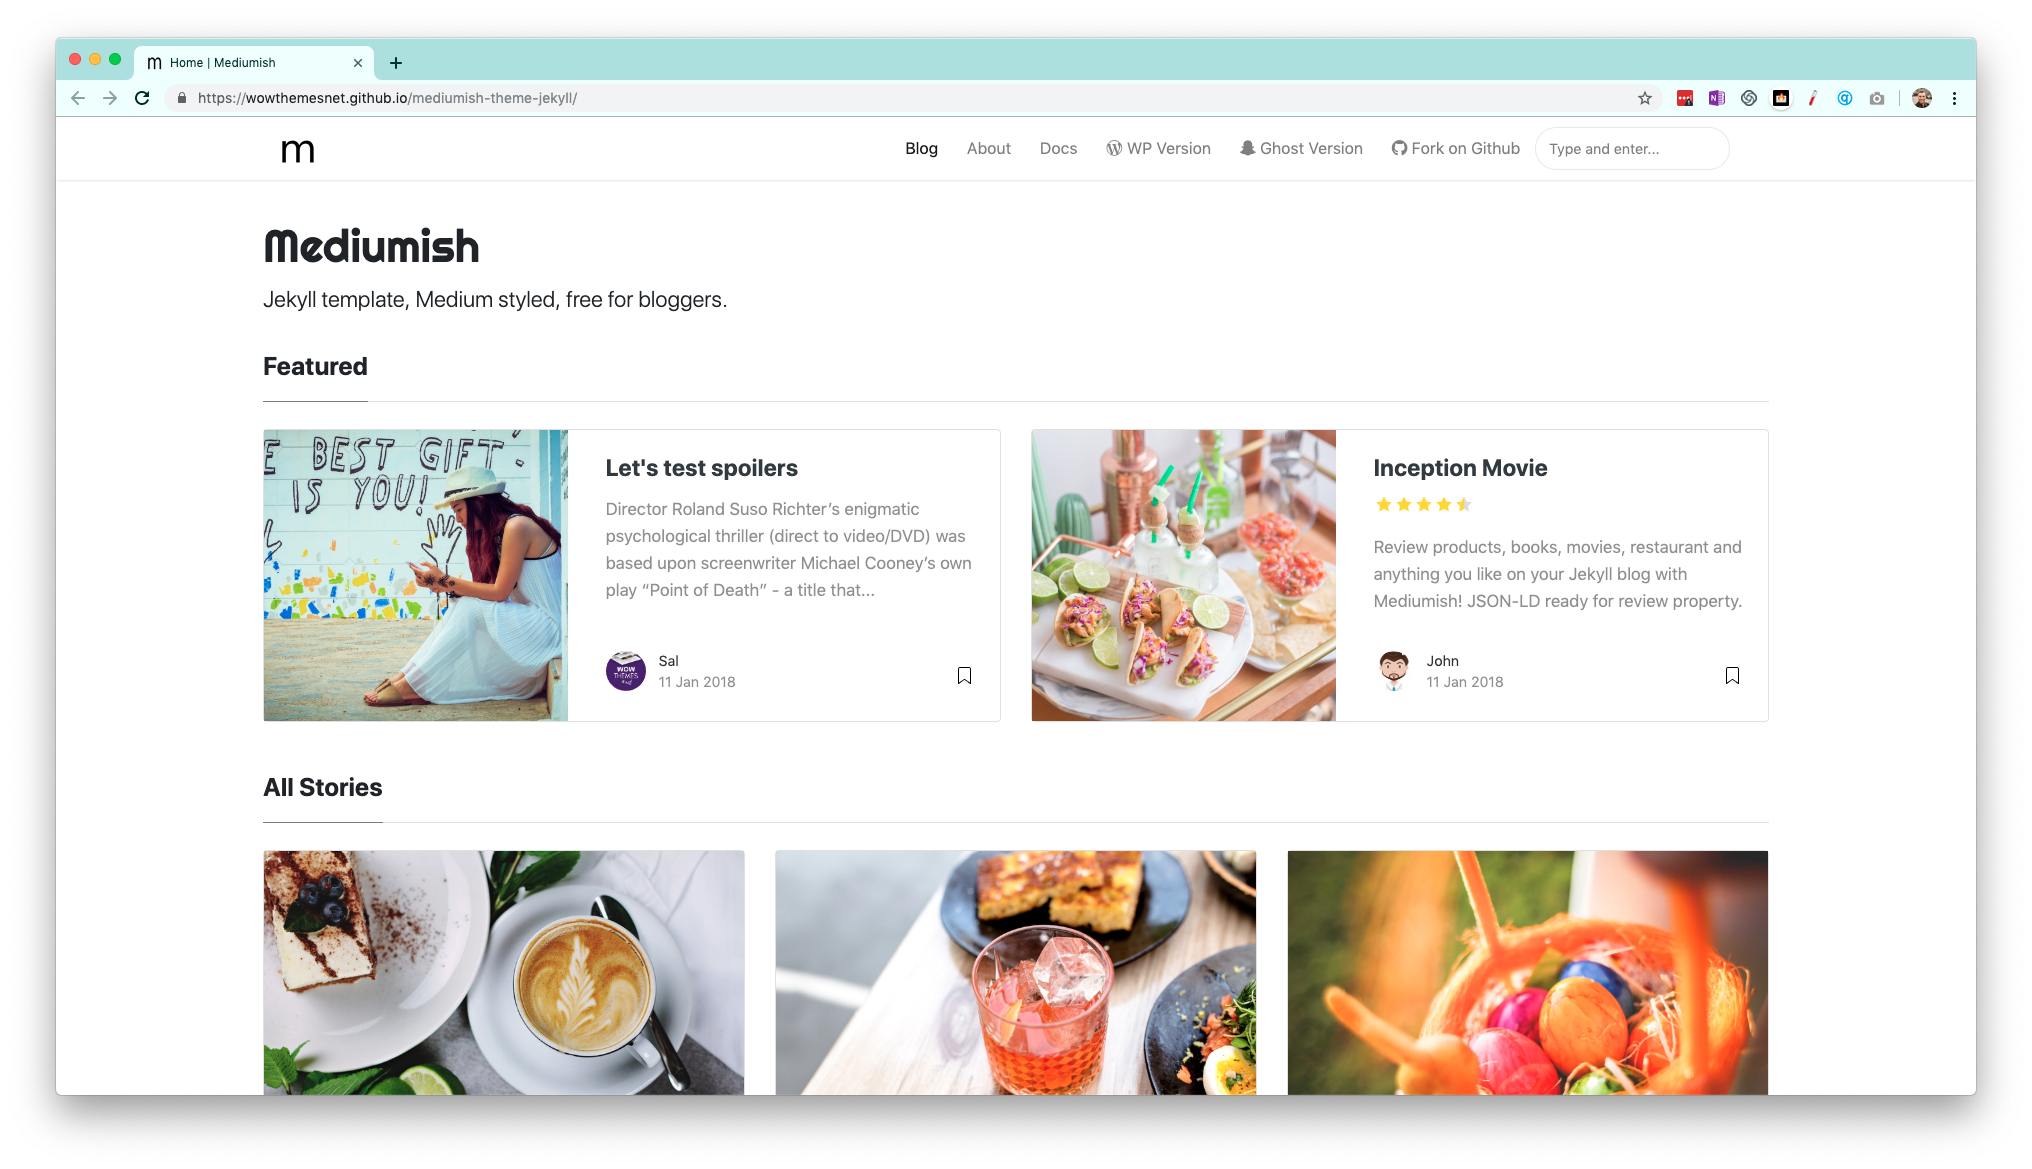
For the purpose of example I am going to use the Medium-style blog theme Mediumish.
-
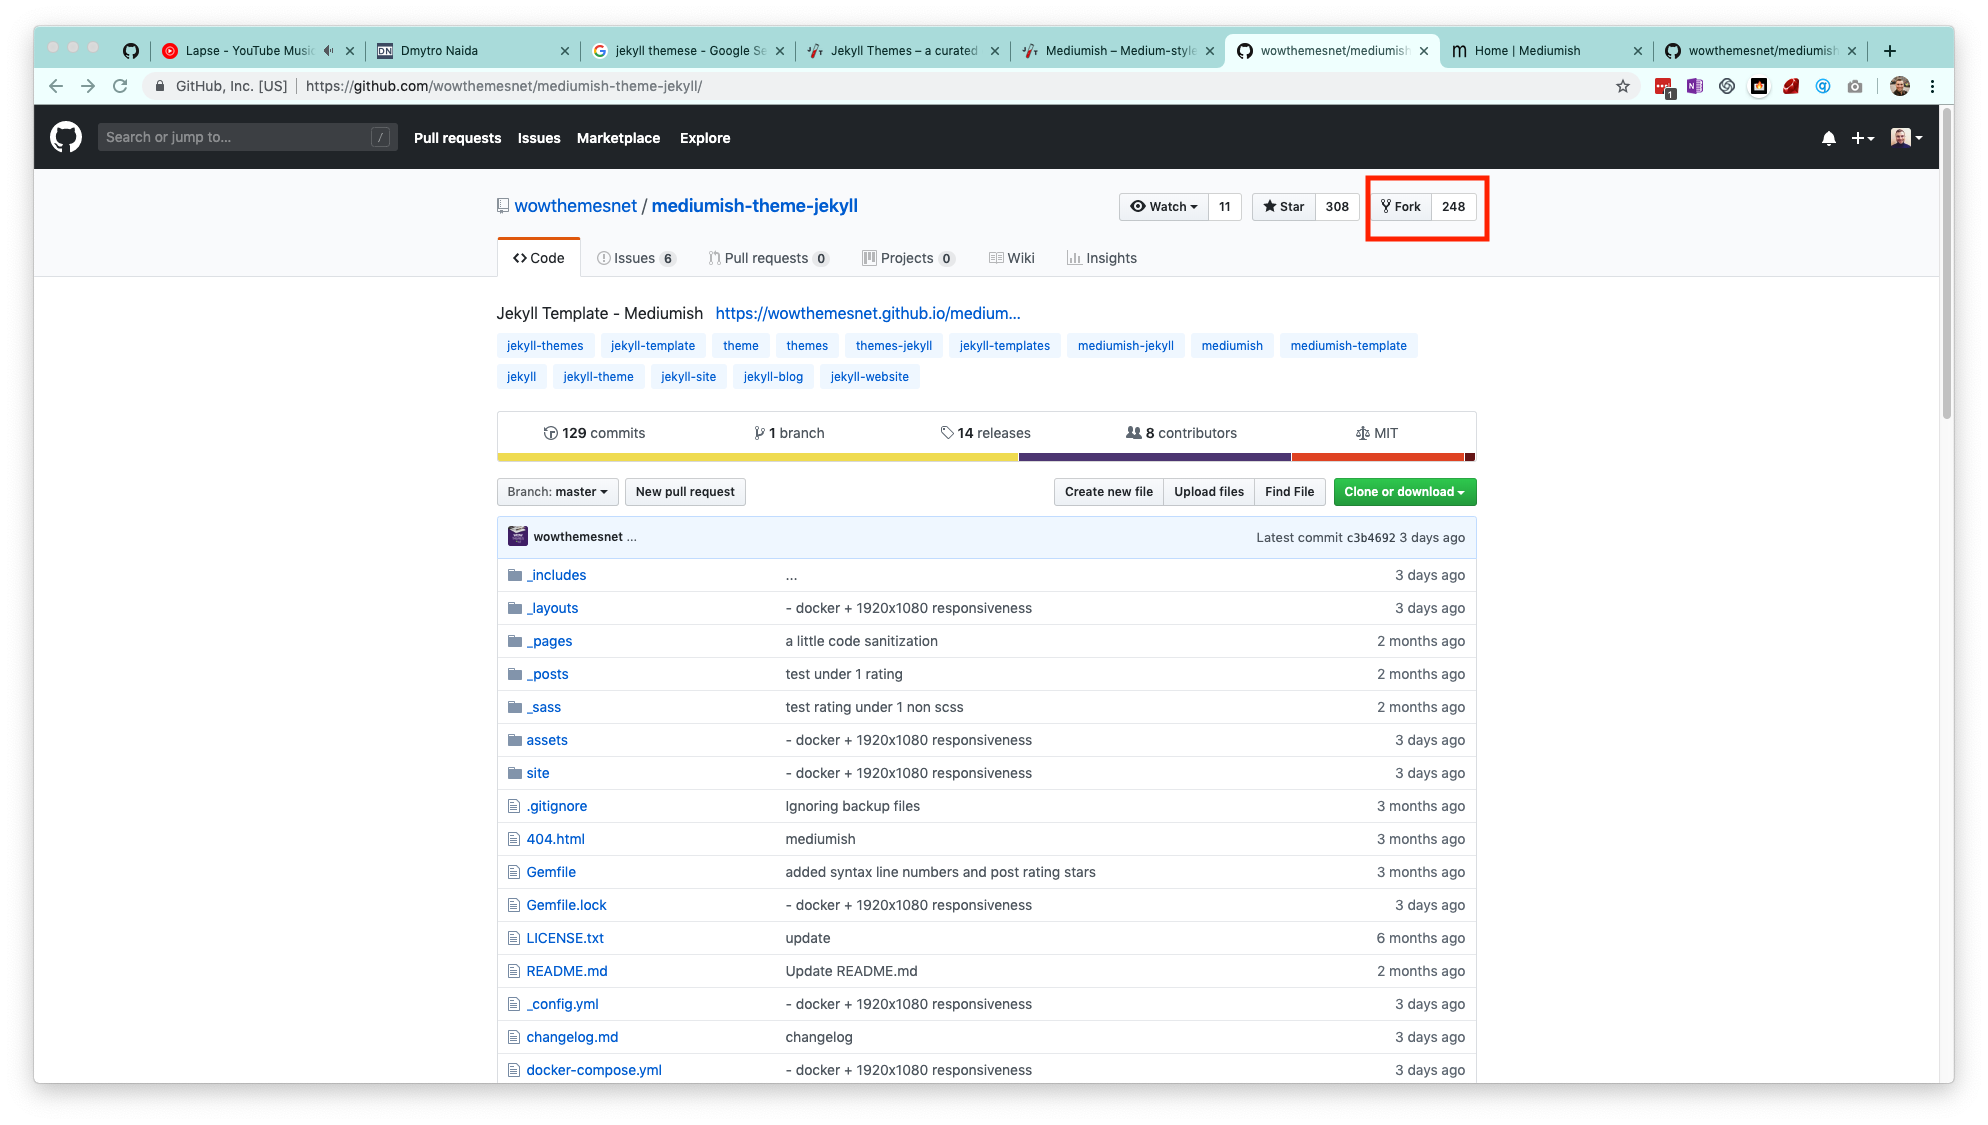
Log in to your GitHub account and fork Mediumish: https://github.com/wowthemesnet/mediumish-theme-jekyll/
-
Clone a copy of your fork on your machine and open with a text editor of your choice:
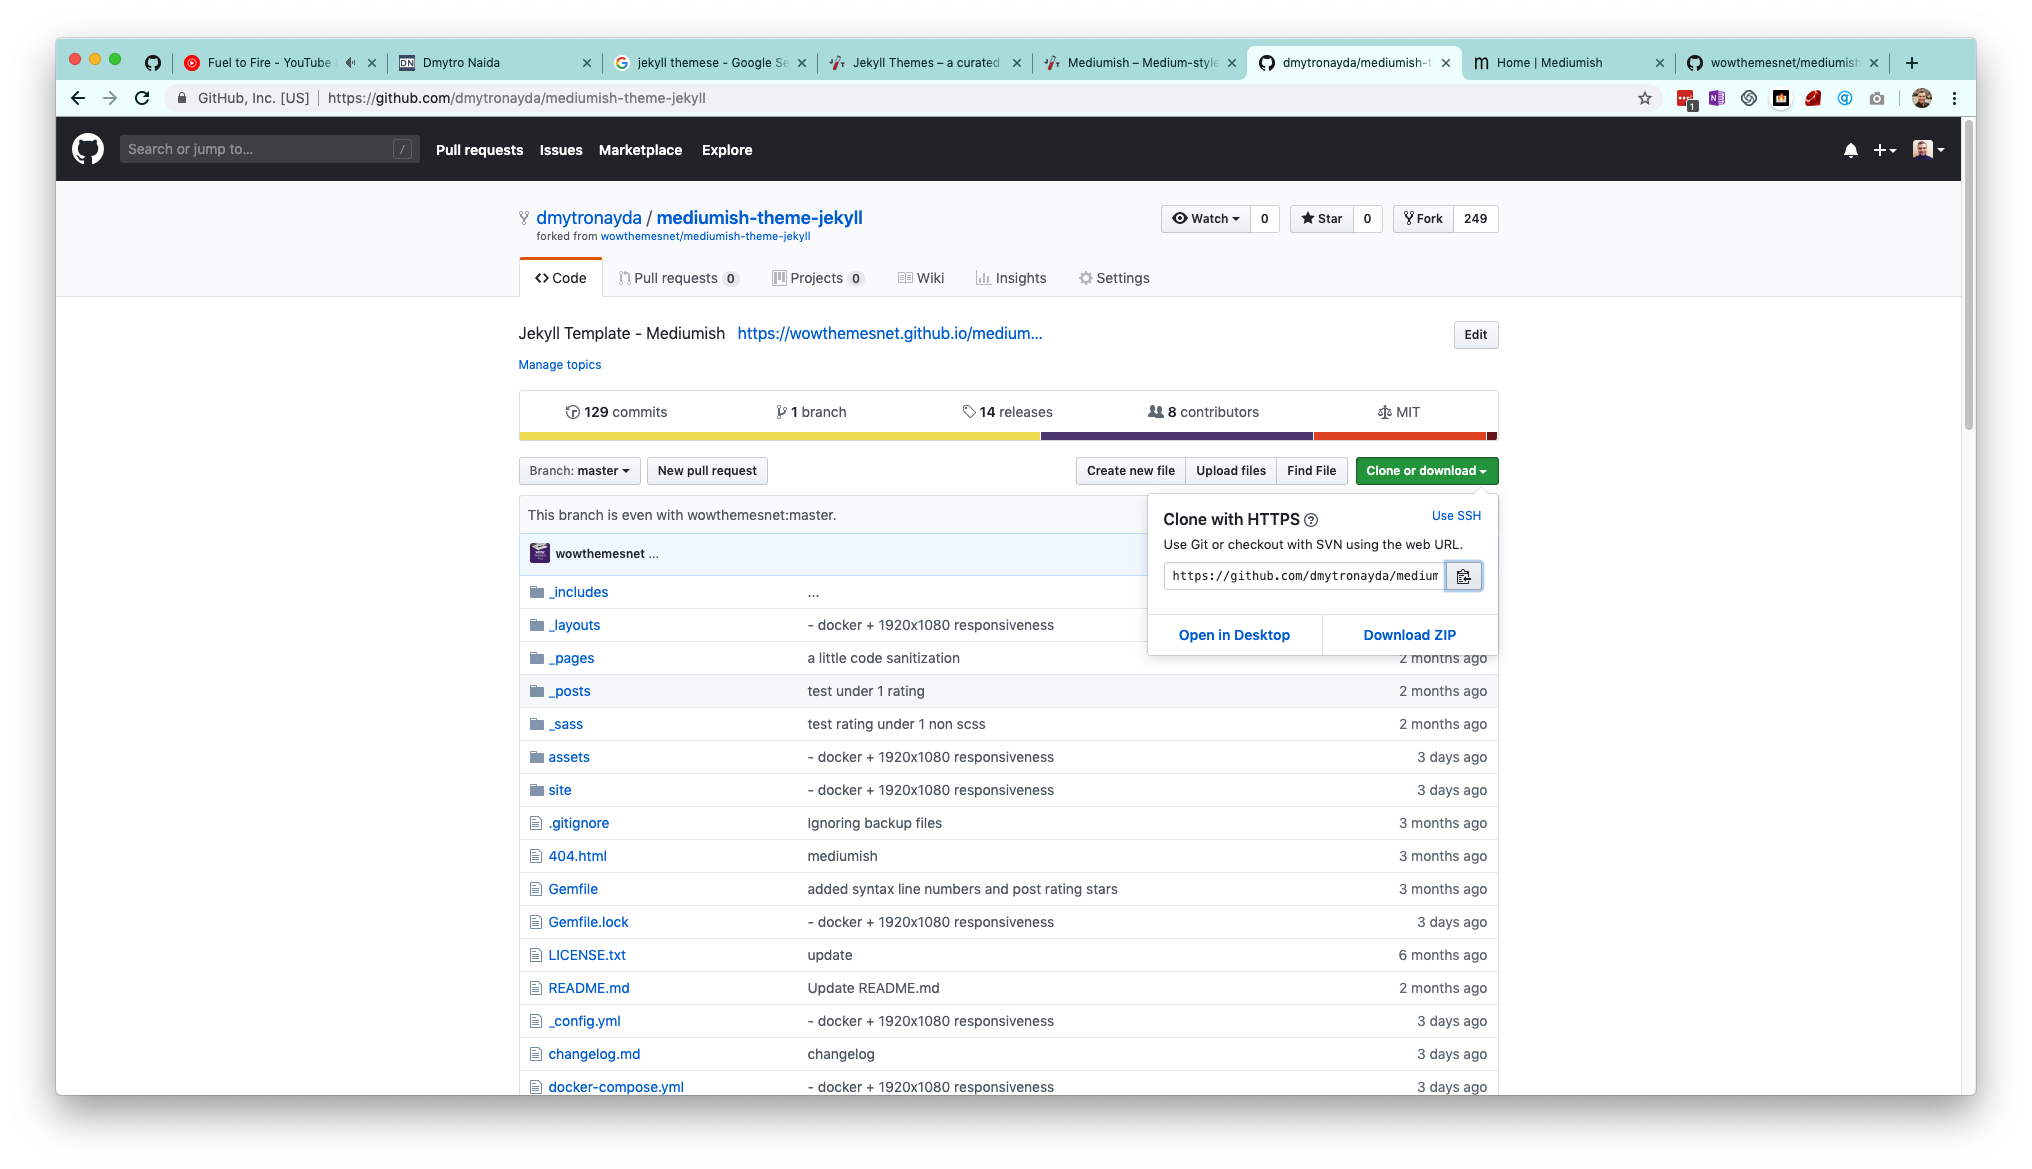
Or simply use following commands in your terminal if you use VS Code:
git clone https://github.com/wowthemesnet/mediumish-theme-jekyll.git cd mediumish-theme-jekyll/ code . -
To see the website template in your browser, type the following in your terminal:
 bundle exec jekyll build
 bundle exec jekyll serve
This will create a local server on your machine, so that you could simply follow the link
Cmd + Clickor copy-paste it to your browser window. It should look something like this:Server address: http://127.0.0.1:4000/mediumish-theme-jekyll/ -
Now head to
_config.ymlfile and update it to your liking. Add your logo, author/s, mailchimp, etc.
Deploy your website for free to GitHub Pages
GitHub Pages is a gret place to store and deploy your Jekyll website for free. In fact, GitHub Pages are powered by Jekyll.
The only thing which I paid for in the end is my custom domain name. It costed me around $3-4/year for dmytronaida.com. You can search how to buy a domain name on Google.
On contrary, you can omit using custom domain and just go with the defaul one provided automatically by GitHub Pages. It will look like this https://<username>.github.io/<repository-name>/
What is deploying?
Deploying is pretty much like publishing.
When writers are ready with their book, they publish it. When developers are ready to share their projects, they deploy them to the Internet.
Deployment on GitHub Pages
Deploying to GitHub Pages is automatic. Once your Jekyll site is set up, deploying happens whenever you push your local changes to your remote, GitHub-hosted repository.
Head to GitHub Pages’ setup instructions and follow the steps exactly to get your main GitHub Pages page setup.
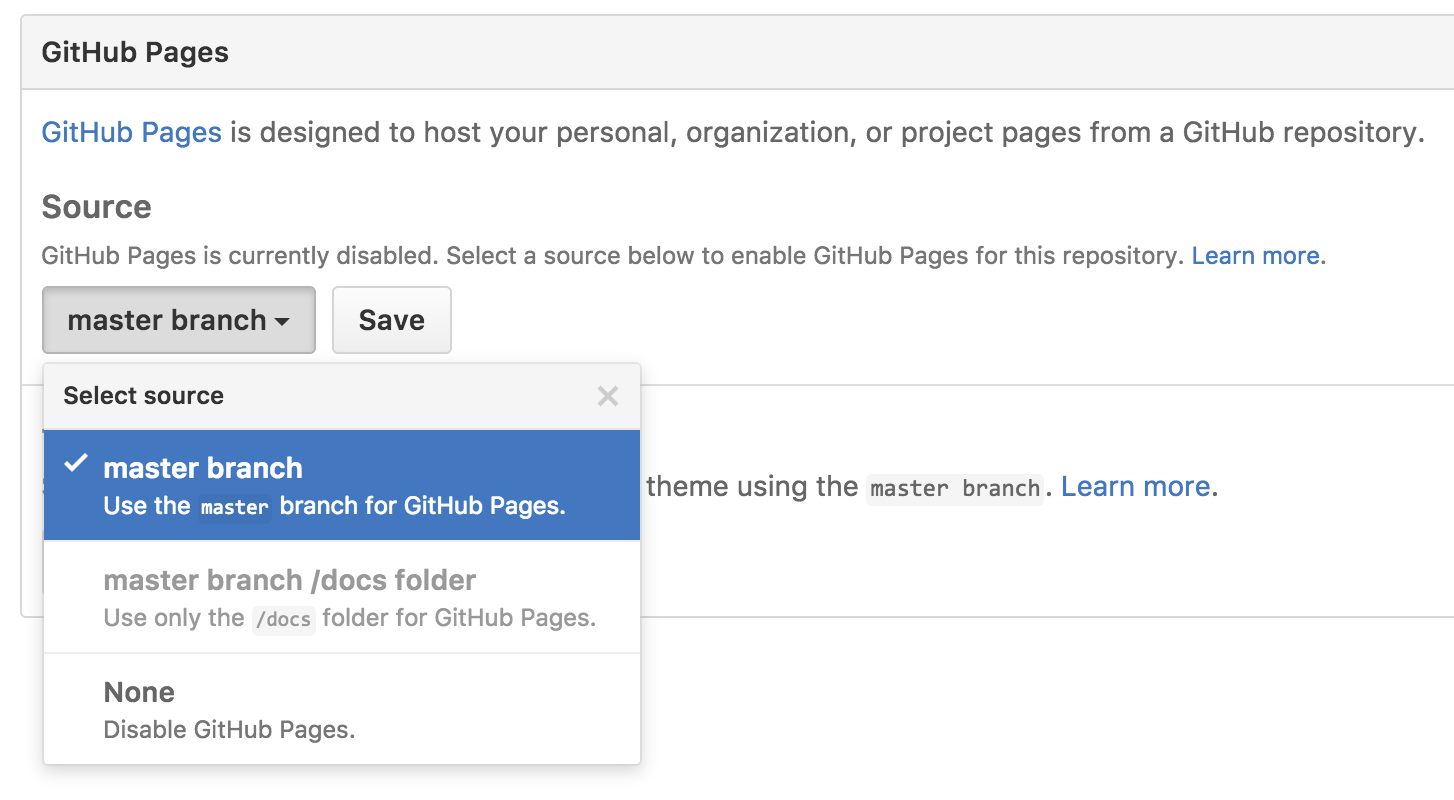
That’s about it. Simply navigate to GitHub repo and click Settings:

Within Settings, navigate to the Source section. From the dropdown menu, select master branch and then click Save.
Now, your Jekyll site can be found at http://<username>.github.io/<repository-name>
If you want to change anything on your website, simply commit new change to your repository.
And, in case you want to use a custom domain, please refer to official instructions here.